Keeping at It

INQUIRY SUMMARY

Learning how to video edit was a process that I really enjoyed. It’s a super fun and unique way to create and express yourself. It’s also a really useful skill, especially in today’s digital world. It’s flexible, transferrable, and sought-after skill, that if you’re decent at, can land you a real-world job. It’s something real anyone with a phone can do and like learning anything else it just takes some time and effort to learn. I chose to make a montage style edit because it allowed me to explore a vast number of tools within the software in the shortest amount of time. It allowed me to get a good idea of what video editing in general entails and gave me some experience with the depth of possibilities. But of course, this isn’t the only thing you can create through video editing, there’s so many forms of content you can create––like YouTube videos, short films, commercials––just to name a few, so just pick something that you like and go for it.  

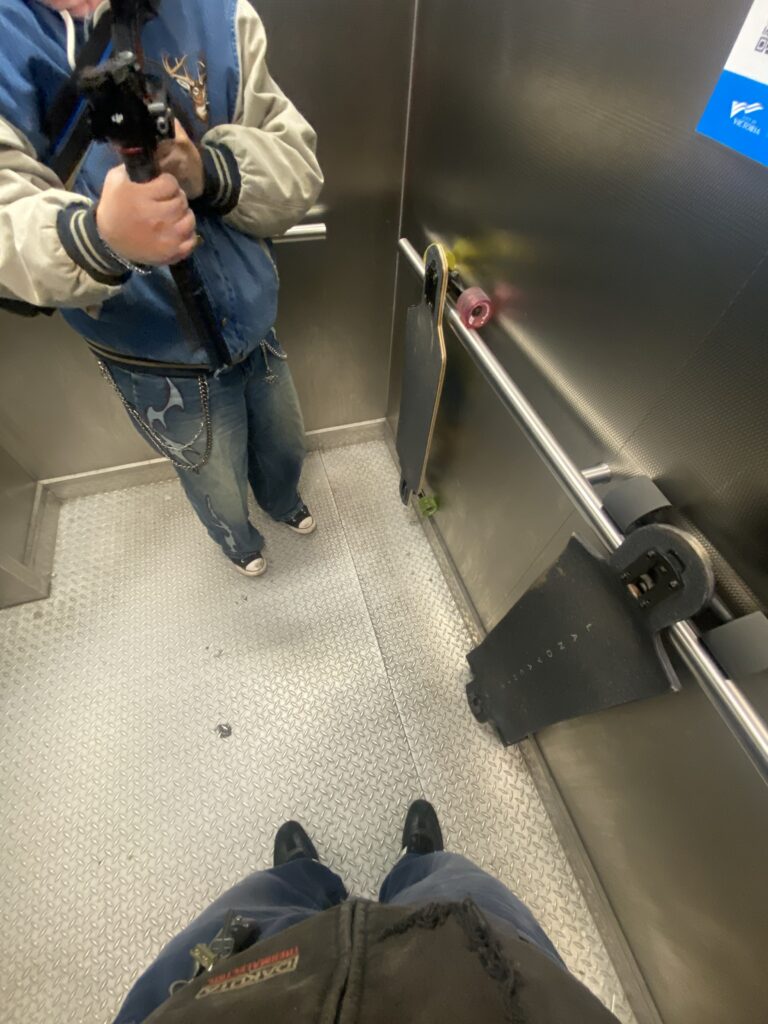
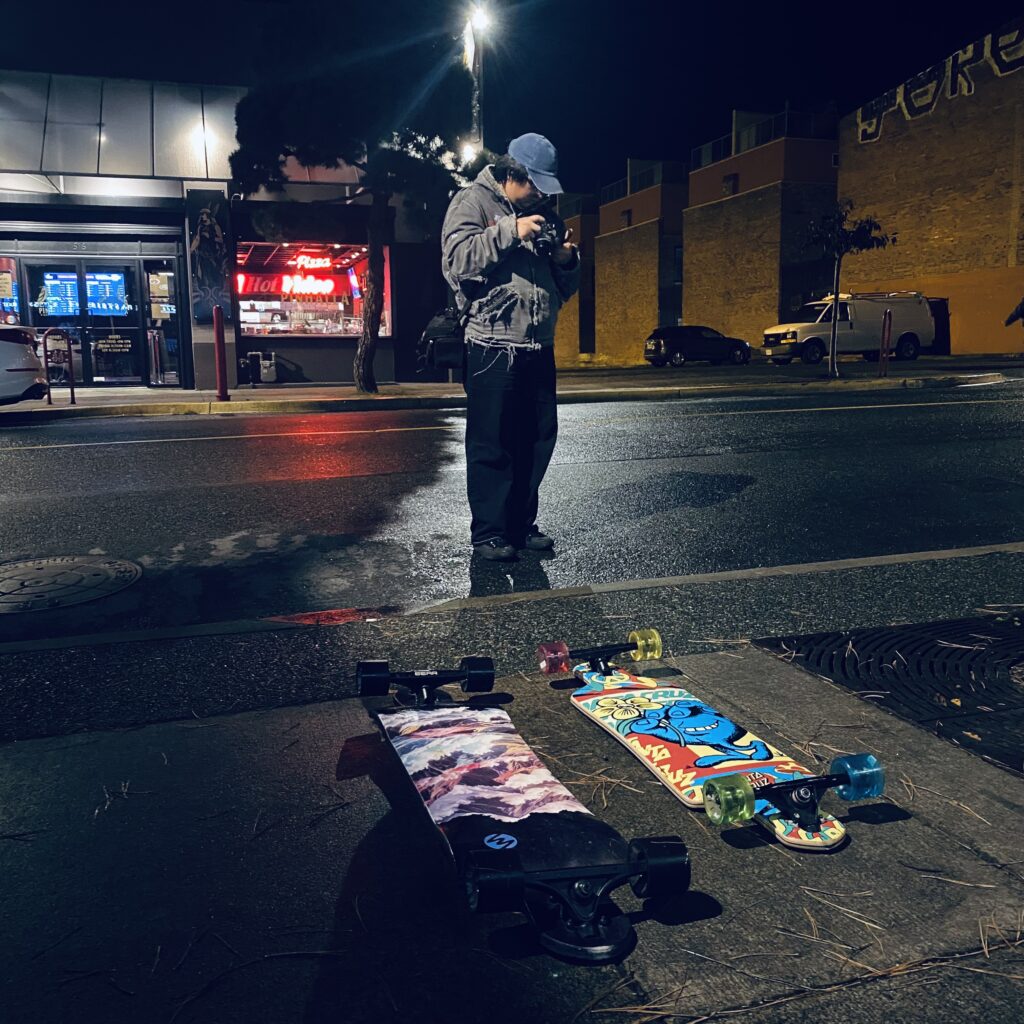
I’m pretty happy with how my first video editing project went, I still have so much to learn and explore, especially when it comes to more advanced software. I think that choosing to do a montage style video and use all self-shot footage was a good call. It made for a lot of hours of work and was just genuinely fun to do. Getting outside and filming downtown was a good contrast to all the work that needed to be done sitting inside. I’m someone who has difficulty sitting around for long periods of time, so being able to have that balance was nice. 

I wasn’t sure what to expect taking this class, I’ve never really take a class similar to It. But I’m glad I did take it, this class has really allowed me to feel free and more in touch with my work and it’s really ignited a new passion for me, one that I’m going to continue to explore and grow in on my own time.  

“Without passion, we are only machines.”

Editing Finally

INQUIRY POST 3: VIDEO EDITING

After all the prep work, we’re finally onto the editing process. I recommend using a laptop or computer as I find them more user-friendly and easier to work on, but you can use your phone if you don’t have one. If you do use a laptop, you have to download the files from your recording device, which is easy enough. If you used your phone to record, you can airdrop them to your laptop or use google drive. If you used a camera with an SD card, you can just pop it into your computer. If your computer doesn’t have one, you’ll probably have to get an SD card reader; this is what I had to do. Once they’re on your computer, I recommend making a file and putting them all together just to make them organized and easy to use.  

I was originally going to use Davinci Resolve as its free and offers professional-grade editing, colour correction, effects, and audio tools, without watermarks and has no limits on project length or resolution. But after researching a bit about beginner editing, with both my editor friend and YouTube videos recommended that I should start on a simpler program, which makes sense as the more advanced software has a steeper learning curve.  

The software I ended up using is iMovie, I’m sure you could use CapCut as well, as they’re both fairly straightforward to use and are beginner friendly. iMovie has a surprising number of tools and no time limit, it’s pretty much perfect for what I was trying to do. I learned the software through the help of my friend and just messing around with it, here’s a tutorial if you don’t feel like wasting a bunch of time.  

After moving my video files to iMovie (you can just drag them from the folder to iMovie), I picked the song I wanted to use. I had a few in mine during the filming process but ended up choosing one I discovered after called Autumn Drive by Bryson Tiller. It had the type of bass, rhythm, and overall energy I wanted to go for with the edit. I used certain cues within the music like beats, claps, and lines to cut the videos into short clips (1-3 seconds) to match the transitions with the song. I used mp3 converter to convert the song from a YouTube video into an mp3 file so that I could use it as an audio file in iMovie (you can drag the mp3 just like the videos).  

My order of operations for editing was: 

  1. Insert the music first do use as a template 
  1. Arrange the videos in the order I wanted them to play  
  1. Split the clips and shortened them  
  1. Adjusted the speed of the clips and matched them to the music 
  1. Split the audio and applied effects  
  1. Colour matched the videos  

This is the order that I recommend as once the clips are matched to the music, any change in duration or beginning of the music will subsequently affect all clips and make them off beat. I spent a lot of time adjusting the length of cuts because I kept changing where the audio would begin, so make sure you have a definitive start that you’re happy with, so you don’t have the same problem.  

Here is a screenshot with some highlighted info: 

The hardest part is starting but once you get moving you don’t want to stop

Inspiration

INQUIRY POST 2: VIDEO EDITING

Before moving on to the editing process, finding inspiration for how you want your edit to flow and feel can help a lot. Watching other’s work can give you a better idea and understanding of what works when editing and help you develop your own editing style. Social media sites like Instagram and YouTube are full of all types of edits and videos that have inspired me to take up learning how to video edit.  

Here is some work that has inspired me  

This first edit was created by HudsonFilms on Instagram. It features clips from the movie ‘Mid90s’ and was my first introduction to his content. I’ve been following him for about a year now and you can learn a lot just by watching some of his clips; specifically in this edit he uses the beats of the song with adding kick flip sfx that make some of the cuts and transitions feel more deliberate and flow smoothly with the music. It’s a small detail that adds a lot to the content as a whole and isn’t too difficult to do during editing.

This second one was made by my friend and guide for this whole filming and editing process. He’s been doing photography and videography for a while now, so I’ve been pretty fortunate to be able to work and learn from him. I take a lot of inspiration from his style of editing in terms of clip arrangement and clip duration between cuts. Something I’m trying to work towards is his style of colour grading. It’s definitely one of my favourite aspects of his edit; the colour and tone is consistent throughout the whole project and really completes the whole video.

Something that I learned from a video by Youtuber Gavin Herman that has made the process of how I want to structure and shape my content is to ask questions before editing. A few questions I like to ask myself are: 

  1. Who am I making this for? What is the target audience? 
  1. Why am I making this? For fun? Job or assignment? 
  1. What do I want to achieve? Goals?  

These are just a few that can help you jump start the creative process and give you some new ideas for your content. But it doesn’t have to be that deep; you can just do it for the fun of it.  

This process of searching for inspiration and asking questions is something that works for me because it helps me visualize the final product and informs me about how to prepare for it. Answering questions can also help with the researching process when looking for inspiration as you can find people whose work matches the answer and who creates content similar to what you want to make, then you can watch their approach to creating and learn their techniques, styles, or tricks.  

Before Editing

INQUIRY POST 1: VIDEO EDITING

Mindwork

As someone who has done very little video editing years ago, trying to dive deeper into can be a bit overwhelming. But it’s been something I’ve wanted to pursue for a while now, and this course is the perfect opportunity to finally force myself to stop being lazy. Luckily, learning how to edit videos from scratch isn’t too difficult; it just requires a bit of patience and a lot of time.  

Groundwork 

The first step was to find video editing software that fit my needs. I used YouTube to find and learn a little bit about some of the free video editing programs that are available, then chose the one that was beginner friendly and had the necessary tools for my first project.  

The first video I watched was by ‘Think Media’ and is an introduction guide to video editing. The software he uses in the video is Camtasia, which is different from what I’ll be using. Although the video offers other tips and insights, for example, he demonstrates how to organize video files in preparation for editing, to allow for ease of access and convenience.  

The second video by ‘Youri van Hofwegan’ is super helpful for beginners who would like to use free editing software. He goes over a list of different programs, highlighting the pros and cons of each, and gives a very surface level, but informative coverage of them. This video really gave me a decent understanding of which editor would work for my specific needs and informed me on which to research further. 

Fieldwork 

Unless you’re using videos from the internet, you have to do a little bit of work. Depending on the content you want to create, filming footage can be simple or complicated. I’m personally making edits about longboarding, which is a bit physically demanding, and makes capturing specific footage difficult. Luckily, I have a partner who already had photography and videography experience, which made the process much easier, so I recommend finding someone to film with if your content is similar. 

Generally, when capturing, you want to have fairly long clips that you can cut up during the editing process, anywhere from 20 to 60 seconds. It does definitely vary depending on your content and style of editing you want to achieve, but for mine, we focused on longer sequences that we could cut sections that we liked to use for the final product. For videoing you can use an actual camera or your phone, it just depends on the quality of image you want.

Once you have the desired footage, you can move to editing.  

some bts photos

Another video that’s very helpful if you’re learning on your own is a video below by ‘Andrew’ that goes over how to film videos as well as some editing tips for DaVinci Resovle.